Ghee, a type of clarified butter, is a staple in Indian cooking. It is made by gently heating unsalted butter until the butterfat separates from the milk solids, which are then removed. The result is a rich, clear cooking fat that has a higher smoke point than butter, is shelf-stable, and retains many of the wonderful benefits of butter without the digestive distress often associated with lactose intolerance or milk allergies. And it adds delicious flavor to all sorts of dishes.

Ghee is not only delicious, but it is also often used in Ayurvedic medicine to treat digestive issues such as constipation, heartburn and ulcers, and skin disorders and irritations. My mother-in-law says it “gives the body energy,” and my mother used it topically to soothe some skin rashes. It is calming to the digestive system while providing essential fatty acids, fat-soluble vitamins, and minerals. And the better the quality butter you can purchase, the more nutritious your ghee will be.
Ghee is incredibly versatile; you can infuse it with garlic or herbs, mix it half and half with coconut oil for a sweeter cooking fat, use it for frying or sautéing, melt it over cooked vegetables or rice, or spread it on roti, bread or crackers. You can use it in any recipe that calls for butter.
To make ghee, you can use any type of unsalted butter, but organic, grass-fed butter is much higher in nutrients and comes from healthier cows. My father-in-law also recommended that I buy cultured butter, which is fermented after pasteurization using live cultures. This results in a richer flavor, and the beneficial bacteria present as a result of the culturing process make the butter even more nutritious. This is the butter I typically buy:

For years I have known that my in-laws make their own ghee, and after listening to their instructions (and reading several tutorials about how to make it), I decided to try it for myself. Now that I have seen how easy it is (and cheaper than buying a good quality ghee), I make my own and include it in many of my Indian (and non-Indian) recipes. I love being able to have this Half Indian pantry staple at my fingertips for my many culinary adventures. Happy ghee-making!
Ghee
- unsalted butter (any amount, though it is a fairly time-consuming process, so I make two pounds’ worth at a time)
Kitchen Tools Needed:
- heavy bottomed stainless pot or pan
- metal spoon
- cheesecloth, nutmilk bag, or fine mesh strainer
- glass container with a tight-fitting lid to store your ghee
To Cook:
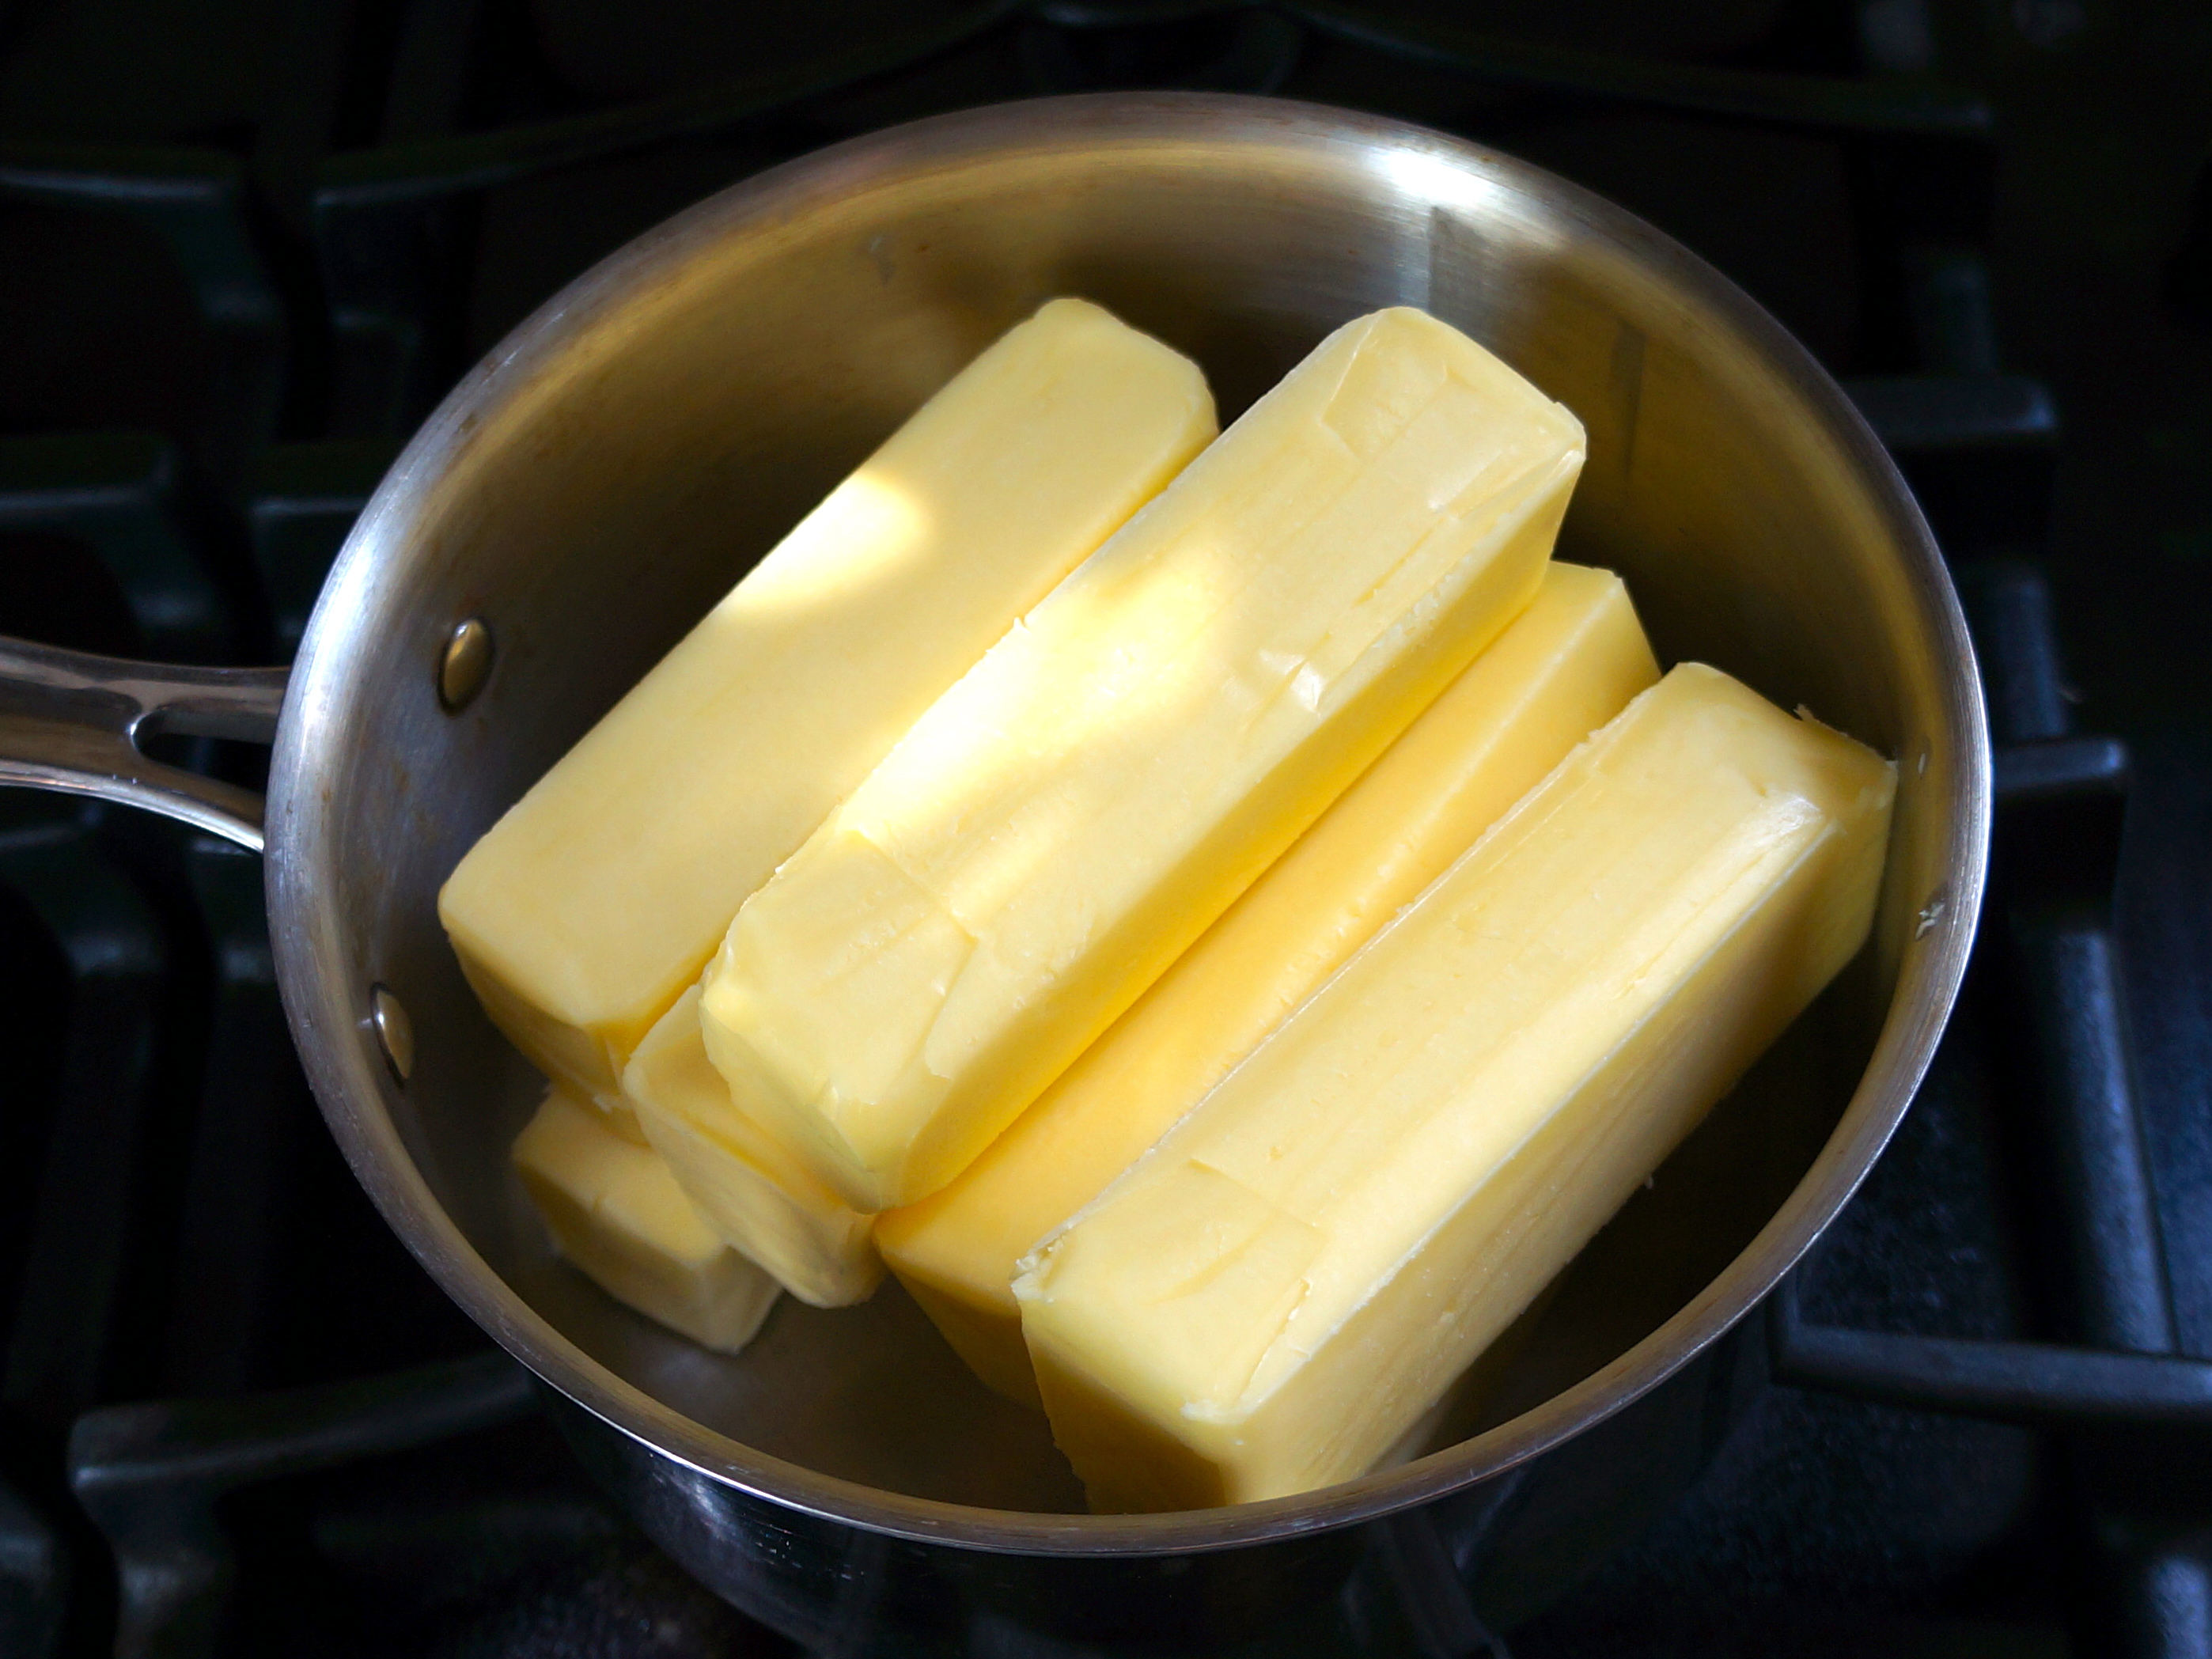
- Place a heavy bottomed stainless pot on a small burner of your stove and turn it on low. Add the unsalted butter to the pot.
- As it melts, you will see the foamy impurities/milk solids collect on the top of the butterfat. My father-in-law calls the solids “muck.” This may take a while, but watch it closely so that you don’t overboil or burn your butter.

- At this point you have two options: Skim off the muck and either discard it or place it in a bowl for later use (see note below), or continue to simmer the butter until the solids have turned light brown and fall to the bottom of the pot. The first option is quicker and results in clarified butter. The second option results in darker, nuttier-tasting ghee.

Lots of “muck” on top of the butterfat.

With most of the muck removed

A bowl full o’ muck

Simmering the butter to let the solids brown and fall to the bottom
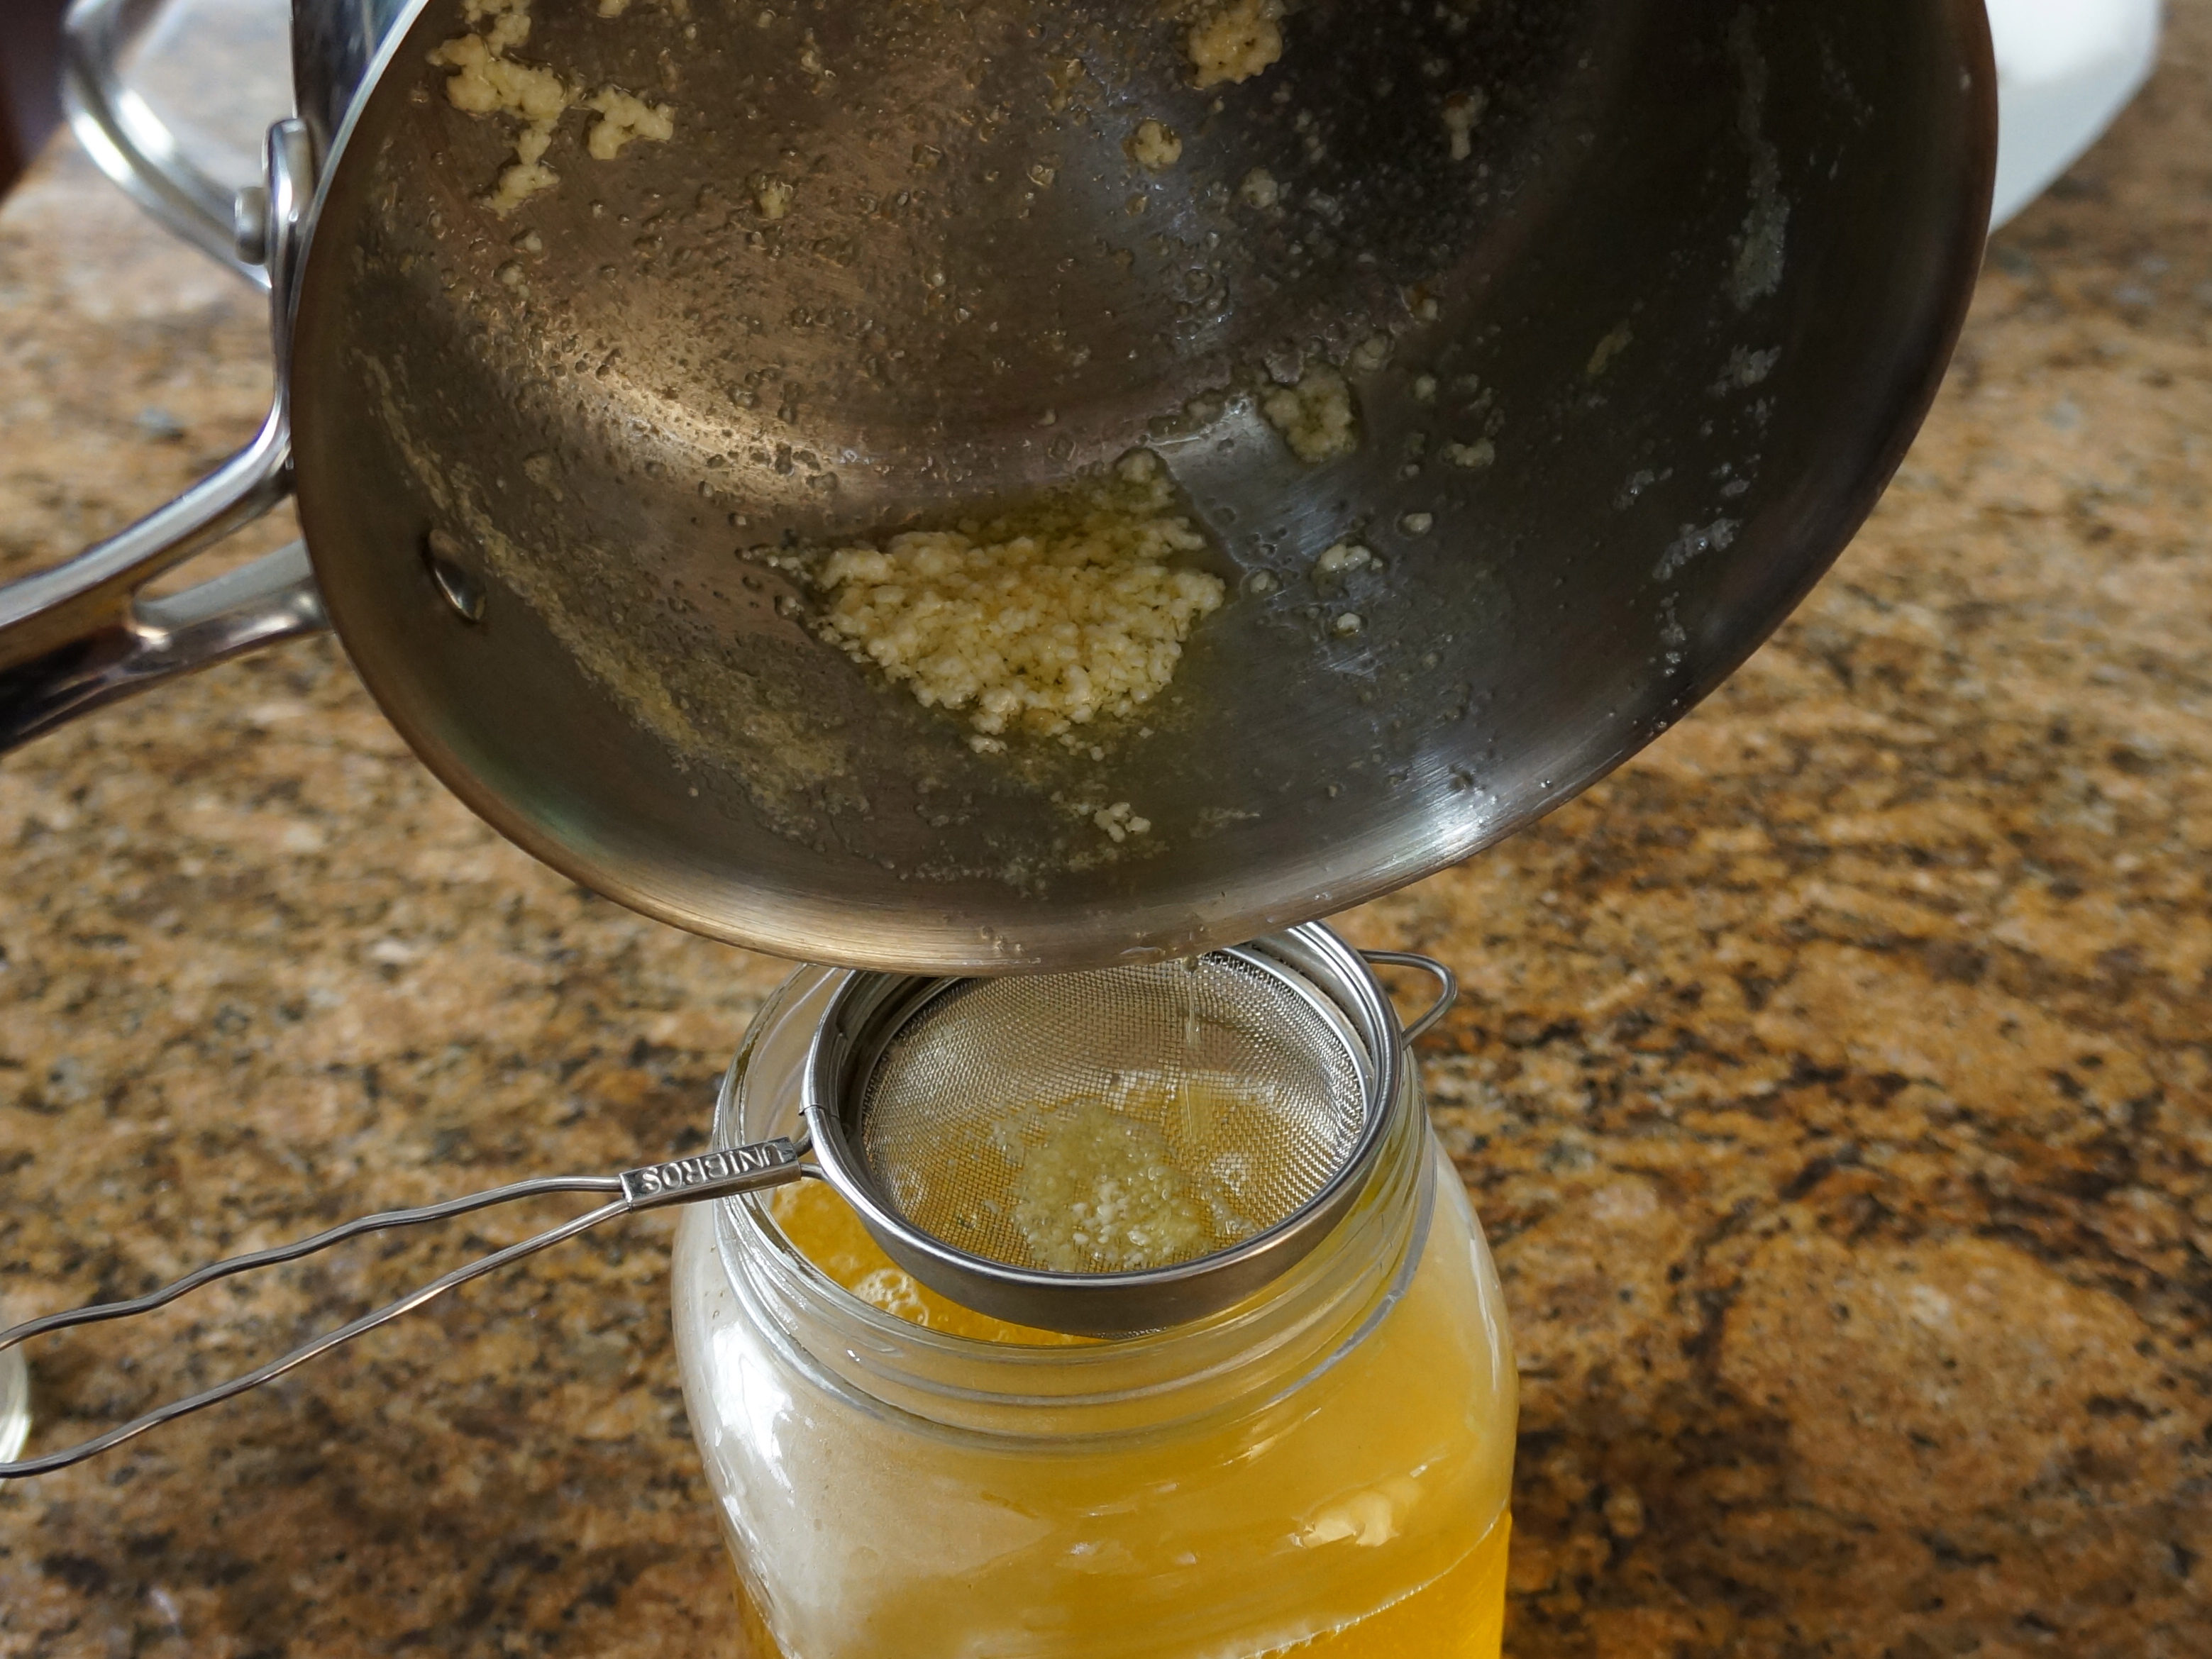
- Once the clarified butter or ghee is finished cooking, remove the pot from the heat and let it cool slightly. Strain it into a glass container using a cheesecloth or nutmilk-lined mesh strainer (or use the strainer alone if the mesh is very tightly woven) to remove any leftover impurities.

My glass jar and metal strainer

Pour carefully!
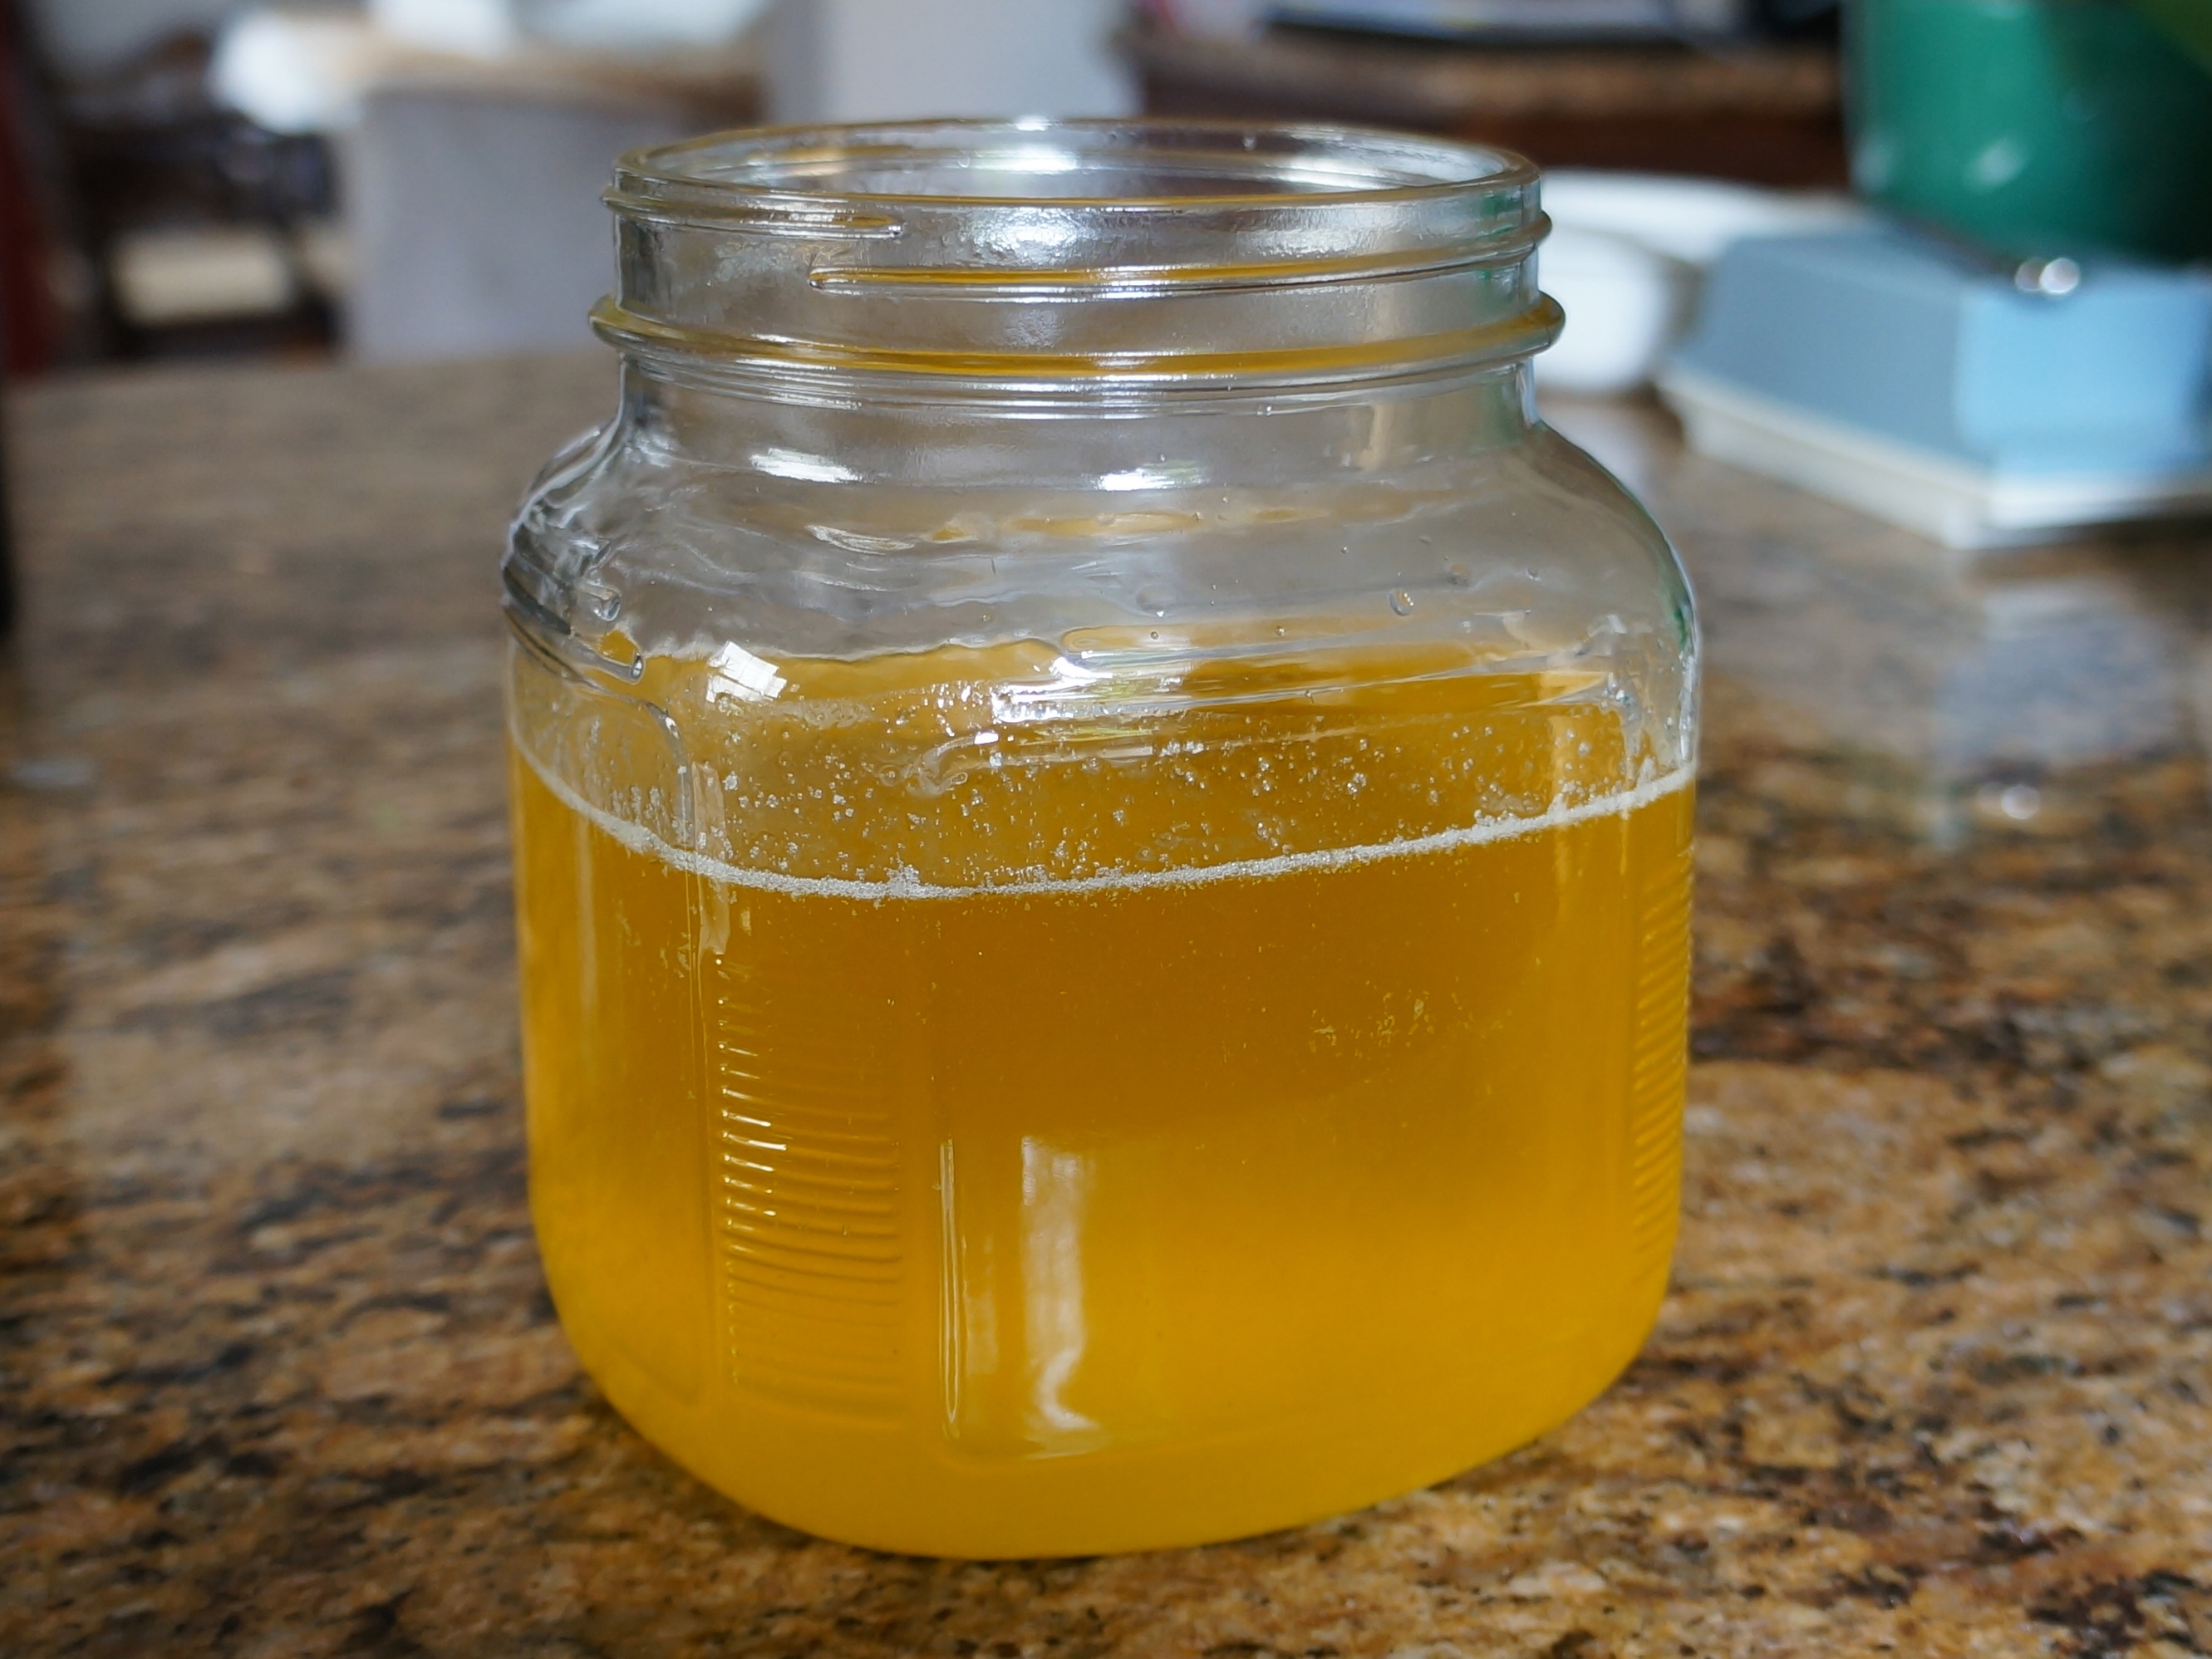
- Allow the ghee to cool, uncovered, until it solidifies and turns opaque. Cover tightly and store on the countertop away from heat or direct sunlight. It will stay good for a month or two (or longer if you refrigerate it).

Cooled and solidified ghee
- Use your ghee to cook vegetables, eggs, or meat…or whatever you want! An Indian favorite is to melt some ghee onto some white rice and add a bit of salt. Not the most nutritious snack, but a nice treat. Note: my father-in-law recommends saving the muck and eating it on rice; if you tolerate dairy, this is delicious! Enjoy!
Sources: Wikipedia: Ghee and Why Butter Is Better
This post is linked to Tasty Traditions, Party Wave Wednesday, Real Food Wednesday and The Paleo Rodeo.
Leave a Reply